Traffic3D Setup
Creating a Scene
Before creating a scene, view the Traffic3D Assets Page to understand how all the Traffic3D objects work.
First, copy the Demo scene and save as your own scene. This will give a base to work on.
Delete any unneeded terrain assets out of the scene and then start with creating the terrain that is needed for your simulation.

Edit the Environment Settings to suit needs of the simulation.
Either use the prefab or create your Traffic Lights which at minimum should have a main object, and 3 circle objects to light up as red, amber and green.
On the main object, add the TrafficLight.cs script.
Fill in everything except the Stop Nodes and Current Light Colour. Repeat this for all the traffic lights in the scene while remembering to fill in the Traffic Light Id with unique numbers that increment starting from one.
Add some Pedestrian Crossings if needed, this will allow pedestrians to cross the road at relevant.
Create a Junction and register the traffic lights to each junction as needed. Then add junction states for the traffic lights and pedestrian crossings.
Next, Paths for the vehicles to follow need implementing.
Create a path by using one of the prefabs provided in the folder Assets/Paths/.
For example, TrafficLightStraightPath.prefab is a straight path with 5 nodes as shown here:
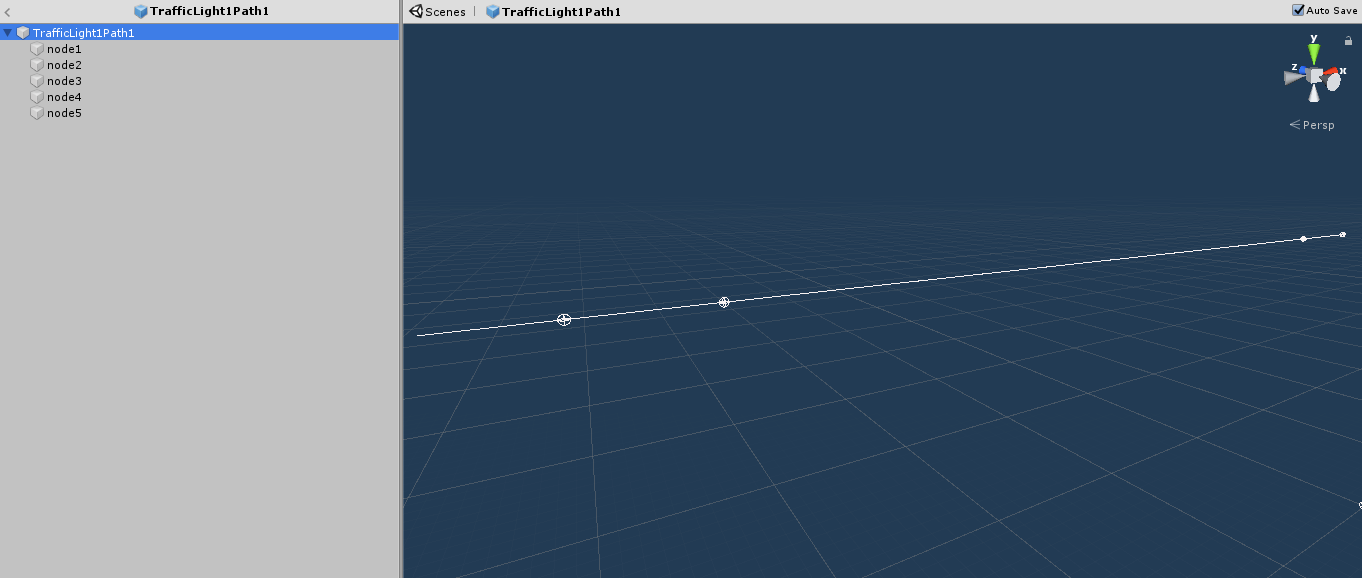
Once all paths have been placed, all the nodes that were placed for the traffic lights (the stop nodes) will have to be placed within each of the traffic light scripts. For example, a node, node3, that was placed for traffic light 1 which is on path 1 would be placed into the list of Stop Nodes on traffic light 1's script.
Next, the VehicleFactory game object needs to have all the paths placed and vehicles that will be in this scene added to the configuration.
The pedestrians need to be added by going to the PedestrianFactory game object and placing pedestrian models inside the list.
Probability will also need to be specified.
Within the PedestrianFactory, PedestrianPoints need to be added as seen below:
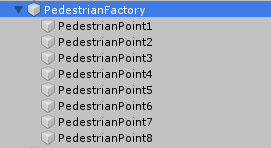
Pedestrian Points are placed where a pedestrian needs to spawn and / or go to.
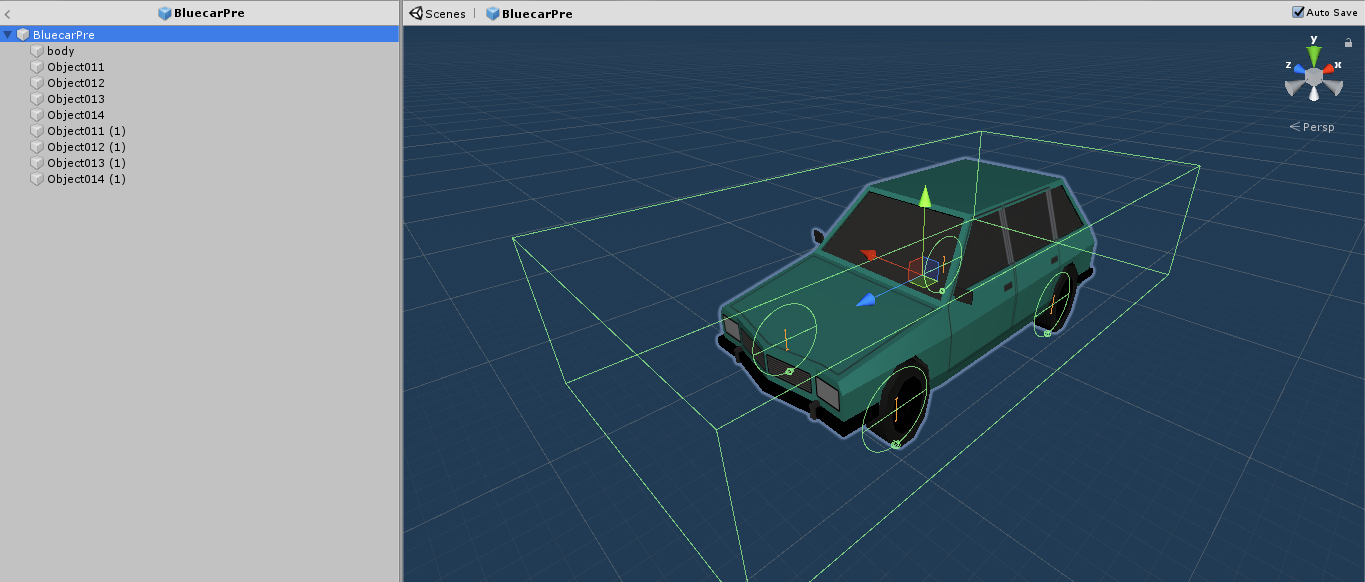
Creating a Vehicle
To create a new vehicle, find a model online or create your own model and put wheel colliders on each of the wheels.
Tag the vehicle with car using the Tag field in the top of the inspector.
Click here to view the Vehicle Engine script. Edit the values as needed.
Once finished with the vehicle, save it as a prefab and place the prefab into the vehicle factory.
Check the car spawns into the scene, setting the probability to 1 and changing the rest of the vehicles to 0 can help test this.
Creating a Pedestrian
Find a pedestrian model online or create a model with a humanoid shape.
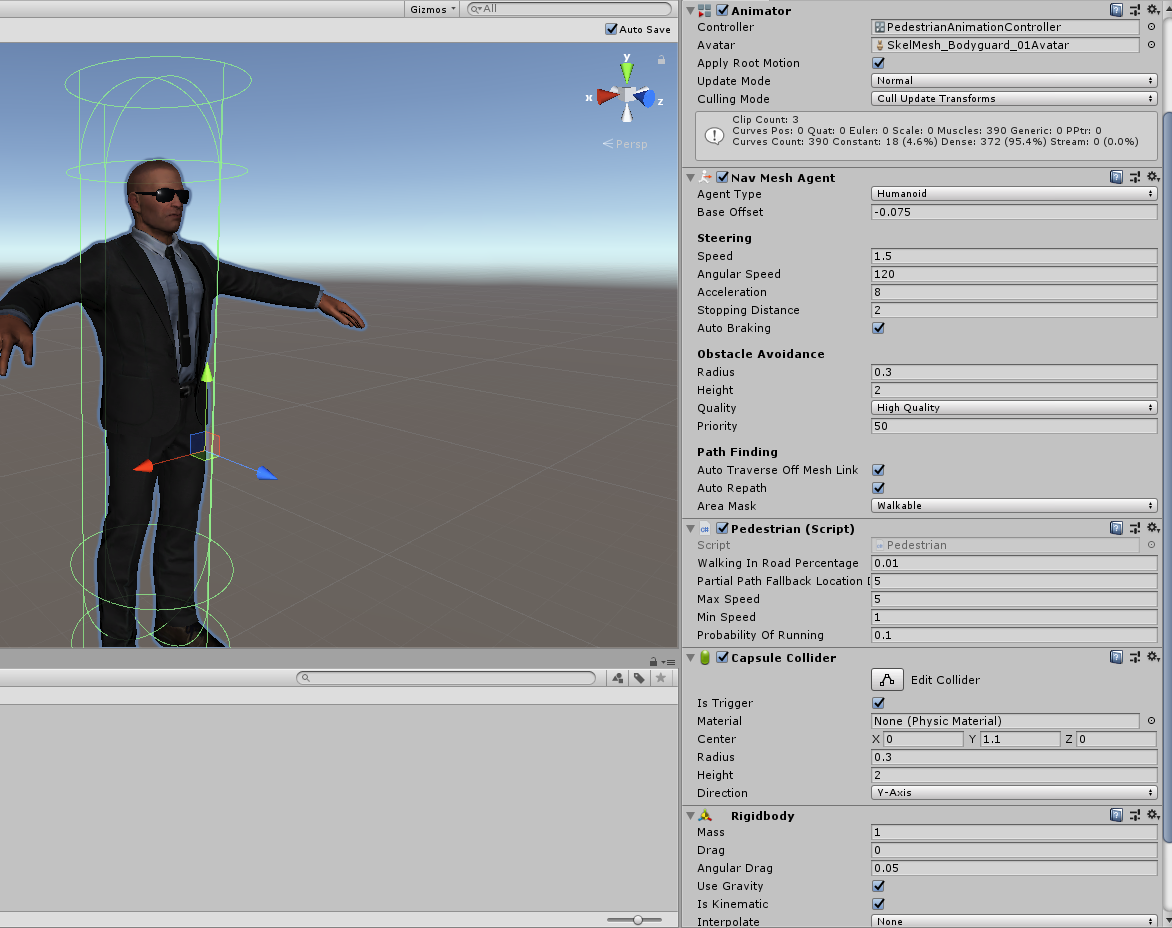
Added the Pedestrian.cs script onto the model along with the following other components:
- Animator - Using
PedestrianAnimationControlleras the controller. - Nav Mesh Agent
- Capsule Collider - Set is trigger to true.
- Rigidbody - Set is kinematic as true
Feel free to copy a prefab from Assets/Resources/Models/Pedestrians and use the same values.
Click here to find out more about editing the values of the Pedestrian Script.